
Best Thermal Imaging Cameras for Inspecting Circuits: Your Complete 2025 Buyer’s Guide
Introduction: Why Thermal Imaging Cameras Matter for You
Think back to the last time you were troubleshooting a stubborn circuit. Maybe a board kept failing after only a few minutes of power, or a component smelled faintly of burning plastic. You probably felt that mix of frustration and uncertainty, wondering where the problem really was. You swapped parts, tested voltages, and still couldn’t find the culprit right away.
Now imagine you had a tool that instantly showed you where the heat was coming from — like x-ray vision, but for circuits. With a quick scan, you’d see the exact component that’s overheating before it fails completely. That’s what a thermal imaging camera gives you: clarity, speed, and confidence in your inspections.
Whether you’re an electrician, an electronics hobbyist, or a maintenance technician, investing in the right thermal imaging camera can save you countless hours and protect expensive equipment. In this guide, you’ll learn everything you need to know about the best thermal imaging cameras for inspecting circuits in 2025 — from the basics of how they work, to the top models worth your money, to tips that help you get the most out of your device.
By the end, you’ll be ready to choose the perfect camera for your needs — and you’ll never look at circuit troubleshooting the same way again.
Table of Contents
What Are Thermal Imaging Cameras and How Do They Work?
At first glance, thermal cameras may seem like something out of a sci-fi movie. They let you “see” heat — and when it comes to circuit boards, that’s a game-changer.
Here’s how they work:
- Infrared radiation: Every object gives off infrared energy (heat). The hotter the object, the more radiation it emits.
- Sensors: A thermal imaging camera has an infrared sensor that detects this energy.
- Image conversion: The sensor translates the radiation into a visual heat map, where different temperatures show up as different colors.
On most cameras, cooler areas appear in blues or purples, while warmer spots glow yellow, orange, or red. When you scan a circuit, a resistor running too hot might pop out in bright red against the cooler blue background of the board.
That kind of visibility makes it possible for you to:
- Spot failing parts before they burn out.
- Verify that cooling systems are working properly.
- Troubleshoot issues faster without physically touching the board.
Why Use Thermal Imaging Cameras for Circuit Inspections?
You might be wondering: couldn’t I just use a multimeter or rely on visual inspection? Sure, those tools are important, but thermal imaging adds a layer of insight that nothing else provides.
1. Detect Overheating Components
- Identify chips, resistors, or capacitors that are heating abnormally.
- Prevent sudden circuit failures caused by excessive heat.
2. Improve Safety
- Inspect live circuits without direct contact.
- Keep your distance from high-voltage areas while still seeing what’s happening.
3. Save Time and Money
- Pinpoint the problem area in seconds instead of hours.
- Avoid replacing parts that are still good.
- Reduce downtime in industrial or commercial systems.
4. Support Preventive Maintenance
- Take thermal snapshots to create a maintenance history.
- Predict problems before they disrupt operations.
- Extend the lifespan of your equipment.
Key Features to Look for in the Best Thermal Imaging Cameras
Choosing the right thermal imaging camera can feel overwhelming, but focusing on a few core features will help narrow down your options.
Resolution & Image Quality
Higher resolution gives you clearer images and finer details — crucial for small circuit boards.
- Minimum recommended: 160×120 pixels.
- Professional-level: 240×180 pixels or more.
Temperature Range & Sensitivity
You need sensitivity more than extreme range. Small differences in heat matter.
- Look for thermal sensitivity around ≤0.05°C.
Display & User Interface
- Larger screens = easier analysis.
- Touchscreens and intuitive menus save time.
Portability & Durability
- Compact models are great for fieldwork or quick inspections.
- Rugged housings ensure long-term reliability.
Connectivity & Data Sharing
- Wi-Fi and Bluetooth let you send images to your phone or laptop.
- Essential if you generate inspection reports for clients or employers.
Comparison Table – Best Thermal Imaging Cameras for Inspecting Circuits (2025)
| Camera Model | Resolution | Temperature Range | Key Features | Price Range | Best For |
|---|---|---|---|---|---|
| FLIR TG165-X | 80×60 | -25°C to 300°C | Compact, easy to use | 400$-600$ | Beginners & DIY |
| Seek Thermal CompactPRO | 320×240 | -40°C to 330°C | Smartphone-based, portable | 200$-400$ | On-the-go pros |
| FLIR E6-XT | 240×180 | -20°C to 550°C | Wi-Fi, MSX imaging, durable | 3000$-3200$ | Engineers & electricians |
| HIKMICRO B20 | 256×192 | -20°C to 550°C | Lightweight, sharp display | 1700$-2000$ | Technicians & inspectors |
| Fluke TiS20+ | 120×90 | -20°C to 350°C | Rugged, reliable | 2200$-2500$ | Industrial use |
In-Depth Reviews of the Top 5 Thermal Imaging Cameras
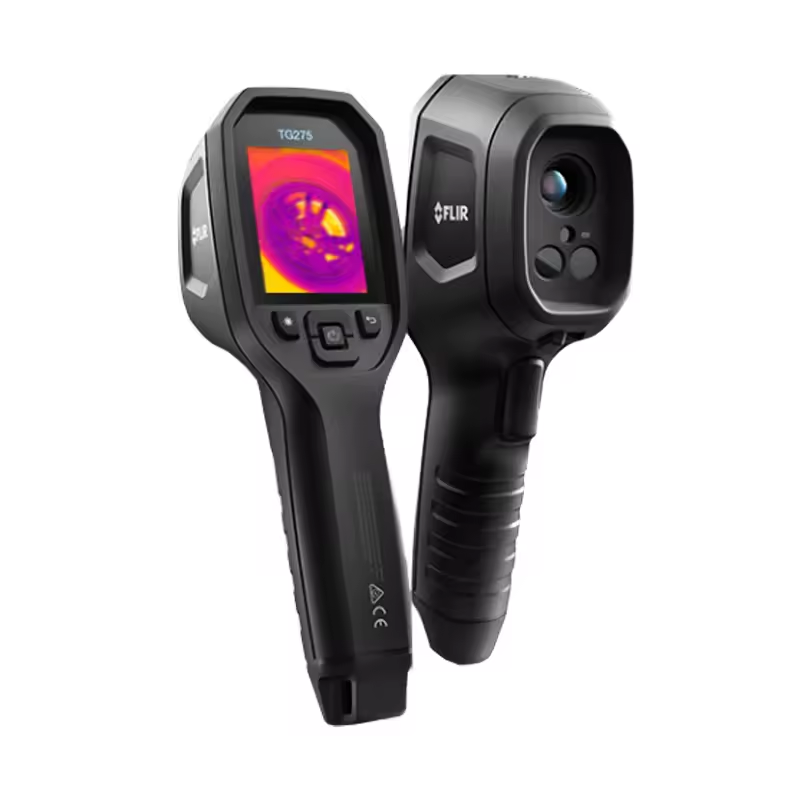
1. FLIR TG165-X – Best for Beginners & DIYers
If you’re just starting with thermal imaging, the FLIR TG165-X is your perfect entry point. It’s compact, easy to operate, and delivers just enough detail for spotting basic circuit issues.
Key Features:
- Resolution: 80×60 (fine for small inspections).
- Temperature range: -25°C to 300°C.
- MSX image enhancement overlays thermal and visual images.
Pros:
- Affordable and beginner-friendly.
- Simple two-button design.
- Rugged build.
Cons:
- Lower resolution than pro models.
- Limited data sharing features.
👉 Check the latest price on Amazon
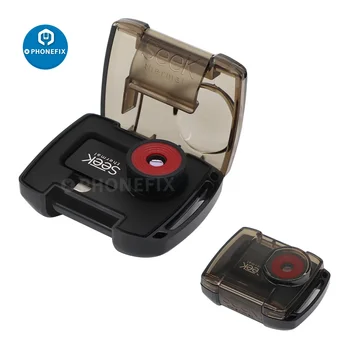
2. Seek Thermal CompactPRO – Best Smartphone Thermal Camera
This pocket-sized camera connects directly to your smartphone, turning it into a powerful thermal tool. With 320×240 resolution, it rivals some professional units — at a fraction of the cost.
Key Features:
- Works with iOS and Android.
- Resolution: 320×240.
- Detects temperatures from -40°C to 330°C.
Pros:
- Extremely portable.
- Affordable for high resolution.
- Great for quick fieldwork.
Cons:
- Dependent on your phone’s battery.
- Lacks advanced reporting tools.
👉 Check the latest price on Aliexpress
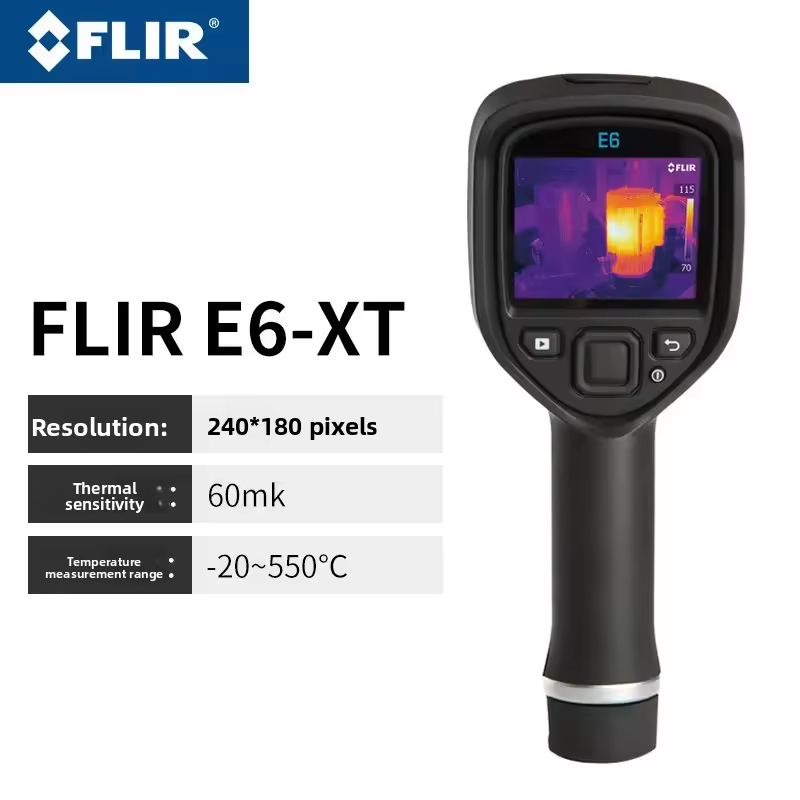
3. FLIR E6-XT – Best Professional Thermal Camera
If you need precision, the FLIR E6-XT is a top choice. Designed for professionals, it delivers crisp images, Wi-Fi connectivity, and FLIR’s unique MSX technology, which overlays real images with thermal data for unmatched clarity.
Key Features:
- Resolution: 240×180.
- Temperature range: -20°C to 550°C.
- Wi-Fi enabled for fast data transfer.
Pros:
- Exceptional image quality.
- Durable, built for daily use.
- Trusted by electricians worldwide.
Cons:
- Expensive compared to entry-level models.
4. HIKMICRO B20 – Best Value for Technicians
If you want great performance without the premium price tag, the HIKMICRO B20 is worth considering. It balances resolution, portability, and affordability perfectly.
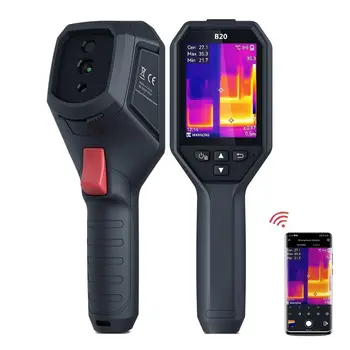
Key Features:
- Resolution: 256×192.
- Temperature range: -20°C to 550°C.
- Lightweight, ergonomic design.
Pros:
- Affordable.
- Clear, sharp imaging.
- Long battery life.
Cons:
- Software less advanced than FLIR.
👉 Check the latest price on Aliexpress
5. Fluke TiS20+ – Best for Industrial Use
Known for durability, Fluke tools are trusted in the toughest environments. The TiS20+ is designed for professionals who need a rugged, reliable thermal camera for heavy-duty use.
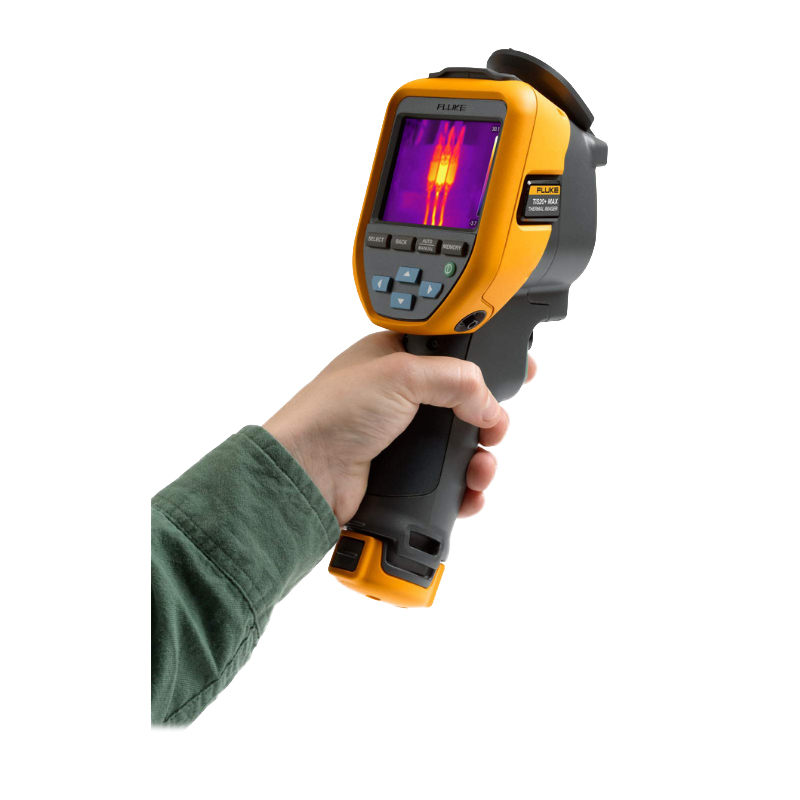
Key Features:
- Resolution: 120×90.
- Temperature range: -20°C to 350°C.
- Fluke Connect software integration.
Pros:
- Rugged and long-lasting.
- Backed by Fluke’s reputation.
- Excellent customer support.
Cons:
- Resolution not as high as some similarly priced models.
How to Use a Thermal Imaging Camera for Inspecting Circuits
- Power on your camera and adjust settings.
- Scan the circuit board slowly.
- Identify hotspots (brighter areas).
- Save thermal images for analysis.
- Cross-check with multimeter readings.
Safety Reminder: Always respect high-voltage safety rules. Don’t rely on thermal imaging alone for dangerous circuits.
Tips for Getting the Most Out of Your Thermal Imaging Camera
- Calibrate regularly.
- Clean lenses to avoid blurry results.
- Take multiple images for comparison.
- Store reports for maintenance logs.
- Combine thermal data with other diagnostic tools.
Common Mistakes to Avoid
- Misinterpreting heat reflections as actual hotspots.
- Using low-resolution models for detailed boards.
- Ignoring small differences in heat.
- Forgetting to consider environmental conditions.
FAQs – Thermal Imaging Cameras for Circuit Inspections
Q1: What resolution do I need for small circuits?
At least 160×120 pixels.
Q2: Can I use a smartphone-based camera?
Yes, but best for lighter use cases.
Q3: Are they safe for electronics?
Yes — they’re contact-free.
Q4: Do I need training?
Basic use is easy, advanced use may need practice.
Q5: Which brand is best?
- FLIR: Best all-around.
- Fluke: Most rugged.
- Seek: Most portable.
Conclusion: Choosing the Right Thermal Imaging Camera for You
Choosing the best thermal imaging camera for inspecting circuits depends on your needs and budget. Beginners will love the FLIR TG165-X. Pros will appreciate the FLIR E6-XT’s clarity. Technicians may prefer the HIKMICRO B20 for its balance of price and performance. And if you work in demanding industrial conditions, the Fluke TiS20+ is hard to beat.
No matter which you pick, one thing’s certain: a thermal camera is an investment in safety, efficiency, and peace of mind.
👉 Don’t wait until the next hidden hotspot causes damage. Choose your thermal imaging camera today, and make inspections faster, safer, and smarter.